Bernette 70 Deco Embroidery Machine
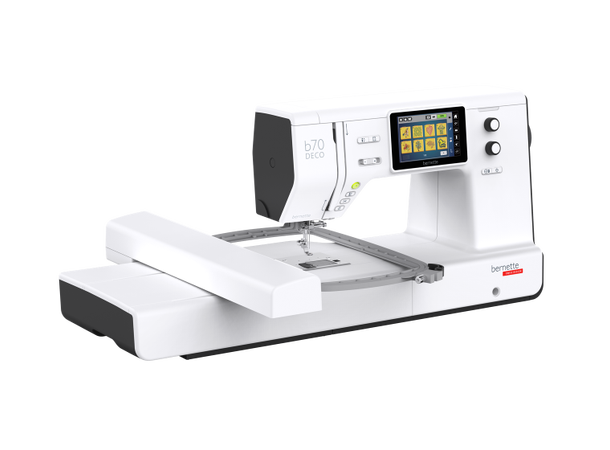

Our Bernette 70 Deco embroidery machine was generously financed by Sparebankstiftelsen DNB
The Bernette 70 Deco embroidery machine has a low barrier for entry and a high skill ceiling. By using the pre-made designs on the machine or finding pre-made digitized design on the internet. You can quite easily embroider a piece of clothing. However, like 3d printing, if you want something specific you may need to resolve to create a digitized design on your own.
Risk Assessment
| Hazard | Likelihood(1-5) | Consequence (1-5) | Risk Rating (L x C) | Risk Level |
|---|---|---|---|---|
| Cuts or lacerations | 3 (possible) | 2 (minor) | 6 | Moderate risk |
| Entanglement | 3 (Possible) | 2 (minor ) | 4 | Moderate risk |
| Pinching/crushing injury | 3 (possible) | 3 (moderate) | 9 | Moderate risk |
Required Safety Equipment
None
Hazards
 |  |  |
|---|---|---|
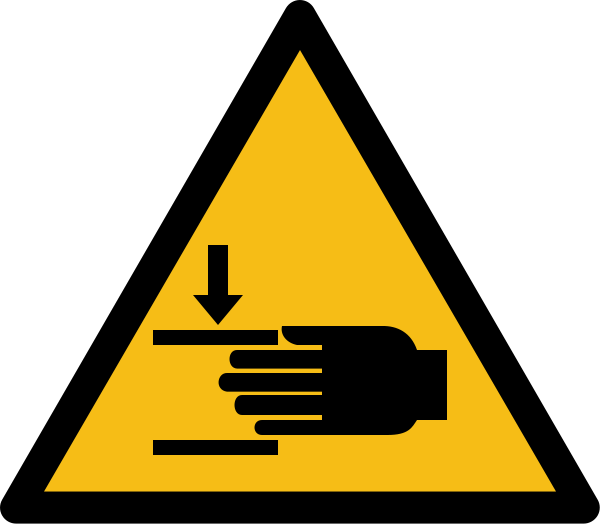
| Hair, loose clothing or loose items may be caught up in the machine | Keep fingers away from pinch points | Sharp needle |
Operational Safety
- Due to the many pitfalls when using this machine, training is required. For instruction, contact Sonen staff at ifi-sonen@ifi.uio.no.
- Do not move the machine during operation.
- Do not embroider over pins. This can break or bend the needle.
- Always use the proper needle plate. The wrong plate can cause the needle to break.
- Ensure the needle you are using is undamaged.
- Make sure the needle is installed correctly.
- Power off the machine before replacing the needle.
- Do not run thick fabrics or many layers of fabric through the embroidery machine.
Standard Operating Procedure
1. Retrieve/create a digitized design
You can fetch files from creator markets such as Etsy or digitize them yourself using a digitizer tool such as InkStitch an InkScape plugin. Make sure your file is saved as a file that our machine supports. We recommend digitizing your own design as it is surprisingly easy to achieve a satisfactory result. Recommended file format: EXP Supported file formats: VP3, VIP, PEC, HUS, DST, EXP, JEF, PES
2. Prepare your workpiece
To ensure your material doesn't flex during embroidery it needs to be supported by a stabilizer and held by a hoop during the embroidery process. There are several types of stabilizers but we have iron on tearaway stabilizers in our lab. Mount the material and stabilizer in an appropriately sized hoop. The material should be taught and without wrinkles. The hoops have a guide that may help you with alignment. Use the smallest possible hoop for your project. We have 3 differently sized hoops for this machine.
- Small: 50 x 70 mm
- Medium: 120 x 180 mm
- Large: 160 x 260 mm
3. Power on the machine
The machine wait for you to press ok before it will try to home itself. Make sure there is no hoop installed and there are no other obstructions.
5. Thread the machine
If not threaded already thread the machine as described in the manual.
4. Install your hoop.
Make sure the foot is raised and the needle is in its highest position. Take care when installing the hoop that your material doesn't snag on the needle.
5. Embroider your thing
Embroider your thing. Change threads when needed and cut when prompted by the machine.
6. Tidy up after you
Remove your workpiece from the machine. Remove excessive stabilizer from your workpiece (you should be able to tear it away from your embroidery) and tidy up after you. Power of the machine Leave the workarea as you found it. Make sure you store the hoop guide with the hoops
Useful links
- Bernette 70 Deco manual
- A quick guide to embroidery. Note that this guide uses a different embroidery machine but the guide is still useful.
- Useful guides on how to digitize a design using InkStitch