Prusa I3 Mk3
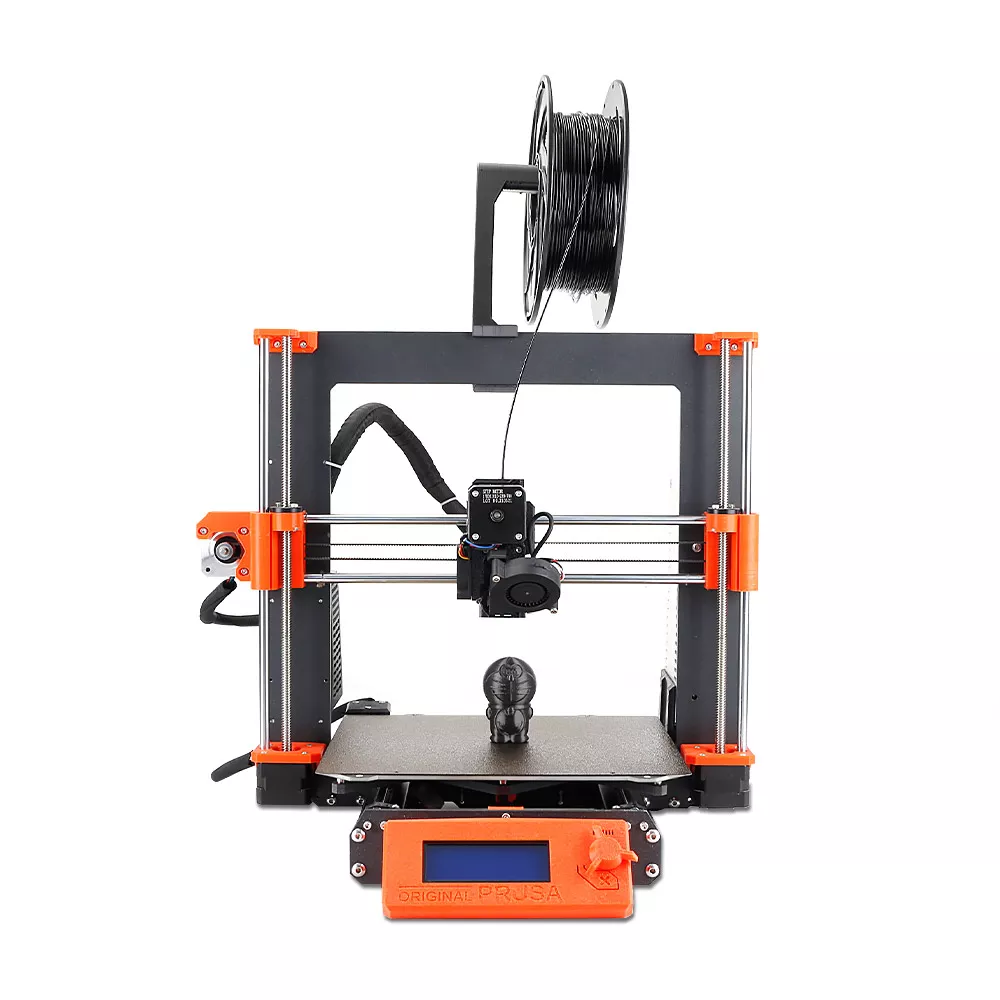
Our Prusa i3 mk3 is designated as our experimental printer. On this printer you may print in other filaments than PLA and using different nozzle sizes and types. Mind that printing with materials that produce hazardous fumes is prohibited.
3D printing with Prusa i3 mk3 printers is fast and relatively easy, based on FDM technology. However, it is easy to make mistakes due to hardware or software setup. The following article gives you the necessary background for getting started with rapid prototyping and 3D printing with Prusa i3 mk3 printers.
Risk Assessment
| Hazard | Likelihood(1-5) | Consequence (1-5) | Risk Rating (L x C) | Risk Level |
|---|---|---|---|---|
| Burn injuries | 3 (possible) | 3 (moderate) | 9 | Moderate risk |
| Starting a fire | 1 (rare) | 5 (severe) | 5 | Moderate risk |
| Mechanical injury (pinching, crushing and entanglement) | 3 (possible) | 3 (moderate) | 9 | Moderate risk |
| Airborne fumes and particles | 4 (likely) | 2 (minor) | 8 | Moderate risk |
Required Safety Equipment
None
Hazards
 |  |  |
|---|---|---|
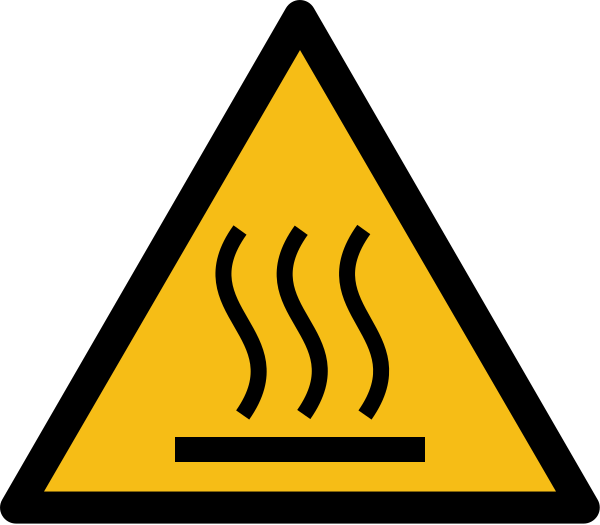
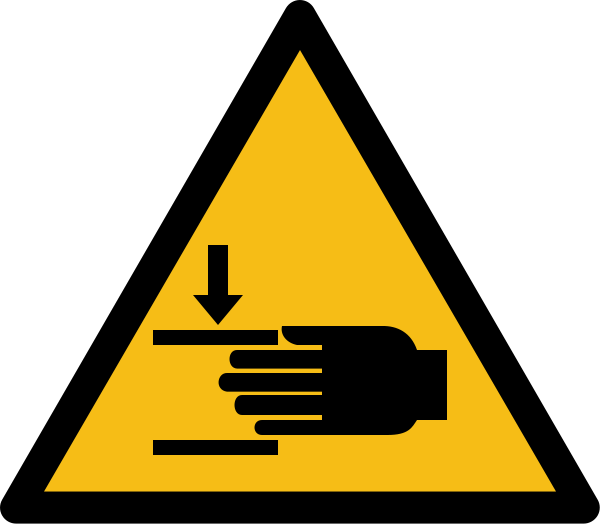
| The bed and nozzle are hot during, and after printing | Moving parts during operation | Build plate may cause minor pinching or crushing injuries during operation |
Guidelines
- Do not use the printer unless you know how to use it.
- Keep hands, hair, and clothing away from the machine during operation.
- Do not move the machine during operation.
- Make sure nozzle and filament are compatible before printing.
- Make sure build plate and filament are compatible before printing
- Don't print in materials that produce hazardous fumes such as ASA, ABS and Nylon.
- Do not leave the printer before the first layer is completed. Most errors arise during this stage, and in 2020 this destroyed a printer.
- Do not tamper with the 3D printer.
- If you want instruction, have trouble with the printer, or we are running low on materials, contact sonen staff at ifi-sonen@ifi.uio.no.
- Always follow the SOP outlined below.
- Follow our General 3d printing guidelines

Standard Operating Procedure
1. Retrieve/create a 3D model
You can fetch files from creator spaces such as Thingiverse or model them yourself using a CAD tool such as Fusion360, SolidWorks, or Blender.
The next step requires the file format of your model to be either .3mf or .stl.
2. Generate toolpaths for the 3D printer
The software used for generating toolpaths for 3D printers is called a slicer. For Prusa printers, we use PrusaSlicer. A guide to PrusaSlicer can be found here.
The standard preset grants highly detailed results and short printing time. You can tweak the print settings as you see fit as long as it's in accordance with our 3D printing guidelines. I.e., total printing time should exceed 1 day (24 hours). Infill should not exceed 20%.
This process is called slicing, which gives you a .gcode file. Save this file onto a SD card and insert it into the printer.
3. Prepare the build plate
Make sure the buildplate is compatible with the filament you are using. For instance PETG can't be printed with glass buildplates as they bond to strongly. Remove any debris that may be on the plate. If the bed is starting to get dirty, rinse it with lukewarm water. The water will dissolve the leftover glue on the build plate. Apply glue on the area of the build plate where your first layer will adhere. This provides a strong bond between the build plate and the first layer. It also makes the print easier to remove from the build plate after it is finished.
4. Make sure you are using the correct nozzle
Some filaments have strict requirements to what type of nozzle they may be printed with. What material the nozzle is made out of and the size of the nozzle are key specs. Especially filaments containing solid particles such as wood, carbon fibre, steal, etc. These filaments typically has requirements for the nozzle listed on their product page. If you change the nozzle. Make a note on the printer naming the type of nozzle the printer is currently equipped with. For instance 0.4mm brass.
4. Double check the filament
Make sure that the type of filament on the spool holder corresponds to the material defined in your slicer and on the 3D printer itself. A mismatch may cause your print to fail.
Make sure that there is enough material remaining. In your slicer, you will get an estimate of how many grams of filament are required for the print. On the side of the filament spool, there is an indicator estimating the amount of remaining filament. Should you run out of material during printing, the printer will pause, and you may add another spool of filament.
5. Consider if your print requires auto-calibration
When starting a print, consider whether you want the printer to auto-calibrate before printing. The entire auto-calibration sequence takes 5 minutes and isn't always necessary for smaller parts.
You may also choose if you want a timelapse of your print at this stage. The timelapse will be stored on the SD card.
6. Remove your print from the printer
The build plate is fixed to the printer magnetically, making it easy to remove. To remove your part from the build plate, gently bend the build plate, and your print should pop off.
Do not use a metal scraper tool! The cold plate is easily damaged by sharp metal edges. If necessary, use a plastic scraper instead.
7. Post-processing your part
Arguably the most boring part of 3D printing. Break off supports, peel off brims. Tidy up the print with a knife and/or sandpaper. 3D printed parts are well suited for painting.
8. Tidy up after you
Dispose of supports and other leftover parts of your print in the designated bin. Replace all tools to their proper home. Clean the build plate with lukewarm water if necessary and replace it in the printer.
Filament
Our Prusa i3 mk3 is designated as our experimental printer. On this printer you may print whatever filament you like. However, the filament should not produce hazardous fumes when printing. Examples of dangerous materials are ABS, ASA and Nylon. The Prusa i3 mk3 only support 1.75mm diameter filament.
Errors
If a print goes wrong, proceed accordingly:
- Check setup in PrusaSlicer and on the printer.
- Rewash the bed level.
- Calibrate the printer.
If this does not help, please notify the engineer here.
Clog
Clogging of the nozzle typically occurs when the workpiece has tilted due to overhang, wrong settings in PrusaSlicer, or wrong filament type. A solution to clogged nozzle is using the Atomic Method.